Pages

Thursday, September 23, 2010

Pink suprise cupcakes

I had an idea after reading this post. I'm considering taking part in a bakeathon for Pink Ribbon day and one of the categories is 'Best PINK invention'. This is what I came up with:

Magnolia Bakery vanilla cupcakes

My version

Makes 24

1 cup unsalted butter, softened
2 cups caster sugar
4 large eggs, room temperature
1 1/2 cups self raising flour
1 1/4 cups all purpose flour
1 cup milk
1 tsp vanilla essence
1 tsp pink food dye
24 chocolate royal biscuits or pink freddos

1. Preheat oven to 180C.
2. Line two 12-cup muffin tins with cupcake papers.
3. In a large bowl, on the medium speed of an electric mixer, cream the butter until smooth.


 4. Add the sugar gradually and beat until fluffy, about 3 minutes.
 5. Add the eggs one at a time, beating well after each addition.
6. Combine the flours and add in four parts, alternating with the milk and the vanilla extract, beating well after each addition. Add food dye.


7. Spoon one tablespoon of batter into the cups. Place one biscuit or freddo on top. Cover with more batter until the cups are about 3/4 full.

8. Bake until the tops spring back when lightly touched, about 20-22 minutes.


9.Remove cupcakes from pans and cool completely on a rack before icing.


This was just a trial. If I make these for the event I am planning on using this recipe for the icing, with pink food dye of course.

Verdict: These smell beautiful! After reading a few blog posts on cupcakes with marshmallows in them I did suspect that the royals would bubble up as they did but wanted to give it a shot anyway. The actual cupcake part is delicious and fluffy. The choc royal ones weren't too great. The marshmallow chewiness was okay but nothing special. The ones with the strawberry freddos were better, especially the parts that had the strawberry filling mixed in. I'm actually hoping they'll come out with those pink tim tams soon - they'd be an ideal addition! I'll be less shy with the pink dye in the future.

Monday, September 20, 2010

Interior inspiration


Looking through pictures of beautiful interiors is really relaxing. I can't wait to design and decorate my own house. I don't think I could ever go with a single theme throughout the house. Every room would be unique.

I've had these pictures saved on my computer for a while now so I'm unsure of the sources.


This would be heavenly
Thai inspired room
Love the lights and mirror
I like these colours together
Love the idea of having a bug/butterfly board framed

Sunday, September 19, 2010

Lemon bars

Today I decided to make lemon bars and have combined two recipes. I liked the topping from the veggie wedgie and the base from smitten kitchen. I didn't use the base from the veggie wedgie because I didn't have half the ingredients.. It does sound nice though! I preferred the idea of a more solid lemon layer as opposed to the gooey smitten kitchen lemon layer.


Rustic Lemonhead Oat Bars
Lemon Bars


My version:

Base 
170g butter, room temperature (tip #1 do not attempt to speed this up by putting it into the oven and forgetting about it.. WAIT IT OUT)
1/2 cup caster sugar (I was supposed to use 3/4 of this amount but forgot.. oops)
1 1/2 cups plain flour
Tiny pinch of salt


1. Preheat oven to 180C. Line a pan with baking paper (mine is about 7x11x2 inches)
1. Cream the butter and sugar with wooden spoon or mixer with paddle attachment until light (tip #2 do not use an ordinary electric mixer for this, especially if the butter has not completely reached room temperature yet. All you will achieve is two beaters packed with butter that ain't going anywhere)
2. Combine flour and salt and then add to the butter mixture. Mix with the mixer on low or use hands until just combined.


3. Press evenly into prepared pan (should reach about 1/2 an inch up the sides) and chill for about 5 minutes (the original recipe didn't specify how long it was supposed to be chilled)
4. Bake in the oven for 15-20 minutes or until light brown, rotating half way through if necessary.
5. Let it cool completely on a wire rack.


Lemon layer
400ml light coconut milk
1/2 cup caster sugar (you will want more unless you like extreme sourness - 1 cup for me next time)
1/2 cup cornstarch
2 tbsp lemon zest (about 3 lemons)
1 cup lemon juice (about 4 lemons)

1. Combine coconut milk, sugar, cornflour and lemon zest in a medium saucepan and whisk until cornflour has completely dissolved.
2. Place pan over a medium heat and bring to a gentle boil, whisking the whole time. Continue whisking until the mixture begins to thicken and then remove from the heat, but continue whisking.
3. Add the lemon juice and whisk for a further 3 minutes.
4. Leave to cool completely (I left it about 2 hours. Probably should have waited another hour or so as it was still slightly warm). It will thicken further as it cools.


Combining
1. Pour lemon mixture onto the base and chill until set. After about 4 hours it still wasn't set so left it overnight.
2. Sprinkle the top with icing sugar if desired. Slice into squares and enjoy.


Okay, so I crossed out the lemon layer recipe because it just didn't work for me. I'm not sure what went wrong.. it may have something to do with mixing in the cornstarch and thickening it on the stove incorrectly. It just wouldn't set in the fridge basically. It was also way too sour for my tastebuds. So I scraped it off.. the base was still good so I  used another lemon layer recipe from joy of baking.


Successful lemon layer

1 cup (200g) caster sugar
2 large eggs
1/3 cup (80ml) fresh lemon juice (about two large lemons)
1 tbsp (5g) finely grated lemon zest
2 tbsp (25g) plain flour, sifted

1.Beat the sugar and eggs until nice and smooth with an electric beater or hand beater.
2. Add the lemon juice and zest and stir to combine. 


3. Fold in the flour until no lumps remain. 
4. Pour the filling over the shortbread crust and bake for about 20 minutes, or until the filling has set. 
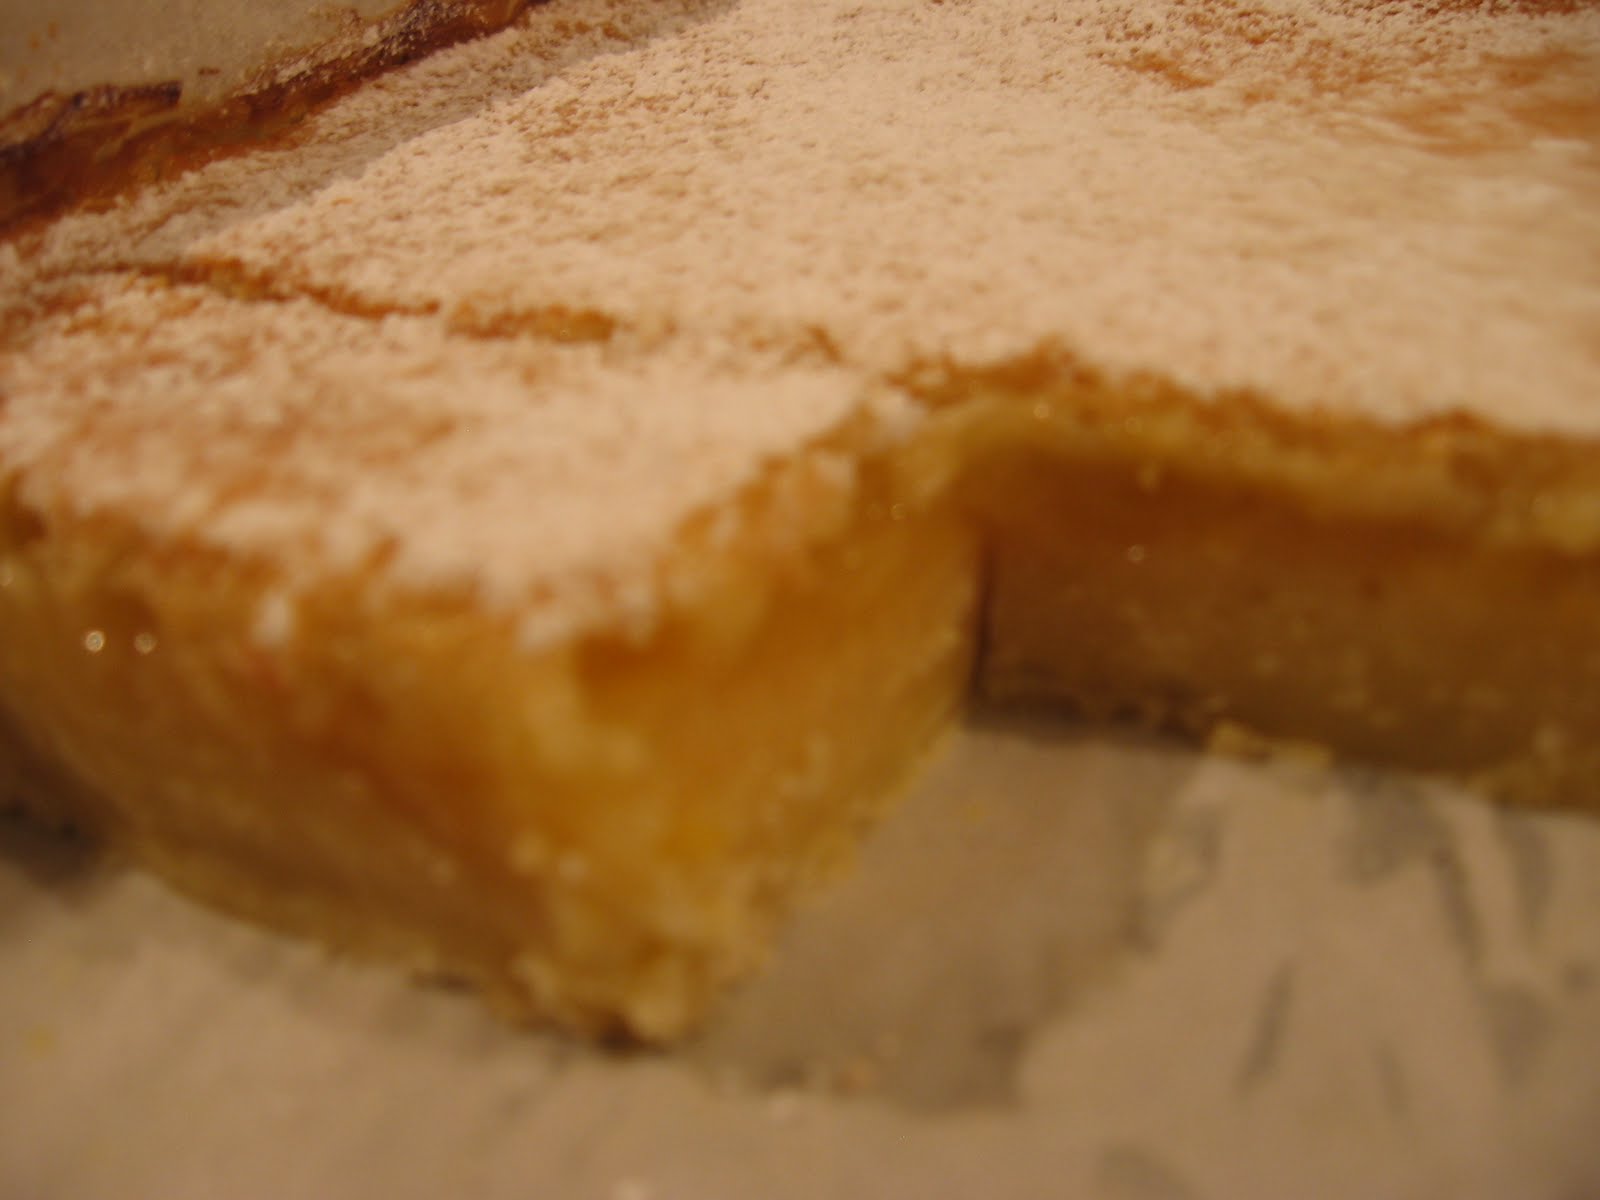
5. Remove from oven and place on a wire rack to cool (don't know what caused those spots).
 
 
6. Dust icing over the top and enjoy! Store in the fridge.
 

Verdict: Much better! More palatable; sweet yet still quite lemony. Quite nice with a scoop of ice cream.

Next: contemplating attempting souffles or macarons.

Thursday, September 16, 2010

Banana muffins and Anzac slice

My mum went on a baking spree today and made her good ol' banana muffins and anzac slices. Yum! Thought I'd share the super easy recipes.


Banana muffins
 
125g butter, melted
½ cup caster sugar
1 large egg, beaten
1 tsp vanilla essence
1 1/2 cup plain flour
1 level tsp baking powder
1 level tsp bicarb soda
1 cup ripe mashed banana
Walnuts, if desired.


1. In a large bowl combine the melted butter, sugar, beaten egg and vanilla. 
2. Sift the flour, baking powder and bicarb soda together and fold into the butter and sugar mixture. 
3. Add the mashed banna and combine thoroughly, but do not overmix. 
4. Spoon the mixture into 12 greased muffin pans and bake at 180C for 15-20 mins or until golden. Serve with warm butter or honey.


Anzac Slice
 
1 cup plain flour
1 cup rolled or quick oats
1 cup desiccated coconut
1 cup caster sugar
125g butter
2 tbsp honey
4 tbsp water

1. Combine the dry ingredients.
2. Melt together the wet ingredients in a small saucepan over a medium-low heat.
3. Combine wet and dry ingredients and press into a pan lined with baking paper. 
4. Bake at about 200C for 15-20 mins, until golden.
5. Remove from oven, allow to cool 5 mins then cut into squares. Allow to cool completely before removing from pan.

Flavour can be altered by using golden syrup instead of honey and brown sugar instead of white. They are of a finer texture if quick oats are used. My mum always sticks with the original recipe and uses quick oats.


Tomorrow: Lemon bars

Friday, September 10, 2010

Jamaican Coconut Bread

Okay, so there's one lonely slice of the Black Beast remaining in the fridge so I reckon it's just about time to bake something else. That's the way it is in my house; there's some strange unspoken quirk in which none of us want to be the one to take the last piece/cookie/slice etc. I think I'll have to be the brave one here.

As I still had about 1 cup worth of evaporated milk left sitting in the fridge from the icing last week, I had a look through all of my bookmarked recipes to find one in which I could replace the ordinary milk with evaporated milk. This is what I settled on:

Jamaican Coconut Bread

Dad "What are you baking?"
Me "Like banana bread, but with coconut instead of the banana.. coconut bread. Jamaican to be exact."
Dad "Yeh ya-makin (ja-maican) coconut bread"
Hah...


My version:
2 eggs
300ml evaporated milk
1 generous tsp vanilla essence
2 1/2 cups plain (all-purpose flour)
2 tsp baking powder
2 tsp cinnamon
1 cup caster sugar
150g shredded coconut
75g unsalted butter, melted


1. Preheat oven to 190C (mine got dark on top quickly so it should be 170C fan-forced). Line with baking paper and/or grease and flour a 21x10cm loaf tin.
2. Lightly whisk eggs, milk and vanilla essence together in a medium bowl.

3. Sift flour, baking powder and cinnamon into a large bowl.

4. Add sugar and coconut to the flour and stir to combine.

5. Make a well in the centre of the dry ingredients and pour in the egg mixture. Stir until just combined.

6. Add the melted butter and stir until the mixture is just smooth, taking care not to over-mix.
7. Pour mixture into prepared tin and bake for 1 hour, or until a metal skewer comes out clean.

Lick the bowl and have a coffee while you wait :)


8. Leave in the tin to cool for 5 minutes, then remove to cool further on a cooling rack.
9. Eat! Fresh from the oven, toasted with butter and icing sugar, cold from the fridge. Whatever tickles your taste buds.


Verdict: mine came out quite dark on the outside as I had the oven at 190C for a while then only gradually turned it down to 170C throughout the hour. Taste and texture wise it is delicious! Crispy on the edges and dense but moist on the inside. Very coconutty. Will be a bit more heavy-handed with the cinnamon next time.


Next up: something lemony, minty or macaron-y.

Sunday, September 5, 2010

La Bete Noire - flourless chocolate cake with hazelnut coconut icing

So as it's father's day today I decided to bake my dad a cake. He loves chocolate and I decided I didn't want to make the usual mud cake. Upon reading about La Bete Noire, I knew I had to give it a shot. I had however been considering a German chocolate cake, so I decided to improvise and use the icing from the german cake recipe on top of The Black Beast.

As soon as I read that it was being cooked in a water bath I knew I was up with the old challenge of sealing the Springform tin. I had already unsuccessfully sealed it once when I made the Zebra cheesecake. So this time I used masking tape to seal the edges that didn't reach the top of the pan and used 2 or 3 extra layers of foil.


You would have thought that this would have been enough, right? WRONG. It still managed to seep in. I think it's about time I invested in a roll of heavy duty, extra wide foil. Nonetheless, on to the recipe.


La Bete Noire

I used Nestle Club dark chocolate. My springform tin was actually 8 inches rather than 10 but didn't check this until after I took the cake out of the oven. The cake turned out quite moist and I believe it's both due to the leaky tin as well as the fact that it could have done with a bit more time in the oven due to increased cake depth, say 10 more minutes. However, chilling the cake in the fridge for 2+ hours prior to serving creates a to-die-for fudgy texture.


Not very pretty is it? I guess it is a beast..


German chocolate cake icing
My version:
42 g unsalted butter
1/4 cup caster sugar
1/8 cup brown sugar
1 large egg yolk, lightly beaten with a fork
Just over 1/3 cup evaporated milk
Dash of vanilla essence
1/3 cup toasted, chopped hazelnuts or any other nut (pop in the oven for about 10 mins, mixing once)
50g dessicated coconut

1. Melt the butter in a saucepan over a low heat.
2. Whisk the sugar and egg yolks together off heat in a small bowl, then add to the butter in saucepan, followed by the evaporated milk.
3. Cook mixture over low to medium low heat, stirring constantly, for 10-12 minutes (mine took 12 minutes over low heat) or until the mixture thinly coats the spoon
4. Pour this mixture through a strainer into a clean bowl.
5. Stir in the vanilla.
6. Lay a small piece of parchment paper over the top as you would if you were cooling pudding, and let cool at room temperature for about 40 minutes.


7. Stir in the coconut and hazelnuts and transfer to refrigerator to chill and thicken.
8. Remove from fridge and leave to warm slightly before spreading onto the cold cake.

Voila!


And boy was this rich! Almost passed out after eating this slice. It was still edible despite it's soggyness thank goodness. Will warm it up and have it with a scoop of ice cream next time (tomorrow).

Happy Fathers Day!

Next up: a recipe to utilise the rest of the can of evaporated milk.

UPDATE: I tried this the following day and it is so much better after refrigeration! The texture is much more fudgy - closer to what I had imagined. Delish.

Thursday, September 2, 2010

Gingerbread men, snails and bears

After trawling the internet for some time I finally came across a gingerbread recipe that sounded like a winner. I love really spicy gingerbread and came across this recipe. I read through some of the 600+ comments and decided to add a bit more spice and flour and use brown sugar instead of white.


Results: quite a dry, crumbly dough prior to refrigeration. I used my hands to mix it thoroughly. After it's time in the fridge it seemed a lot moister and was fairly easy to roll out and had to use a bit of flour/icing sugar to prevent sticking. Final product = soft and fairly spicy. Yay! Next time I will use a little less flour to reduce some of the dryness (although the final product was quite perfect in terms of texture). I think I'll also add a bit more cinnamon and give some ground black pepper a shot to really spice it up.

My version:
1/2 cup unsalted butter (approx 115g)
3/4 cup brown sugar
1/2 cup treacle
1 egg yolk (save white for icing)
2 1/2 cups all-purpose flour, sifted (2 1/3 next time)
1/2 tsp salt
1/2 tsp baking powder
1/2 tsp baking soda (bicarb)
1 tsp ground cinnamon (1 1/2 or 2 next time)
1/2 tsp ground cloves
2 tsp ginger
1 tsp ground nutmeg

Royal Icing
1 egg white
1 cup of icing sugar
Dash of vanilla essence and food dye as desired

1. In a large bowl, cream together the butter and sugar until smooth. Stir in treacle and egg yolk. Combine the flour, salt, baking powder, baking soda, cinnamon, cloves, ginger and nutmeg. Blend the flour mixture into the treacle mixture until smooth (using hands as necessary but don't over-work the mixture). Wrap in gladwrap and chill for at least one hour.

2. Preheat the oven to 175 degrees Celsius. On a lightly floured/iced surface, roll the dough out to 1/4 inch thickness. Cut into desired shapes with cookie cutters. Place cookies approx 2 cm apart on trays lined with baking paper.

3. Bake for 7-10 minutes in the oven until firm. Remove from cookie sheets after a few minutes to cool on wire racks. Ice when cool.

Icing
1. Beat egg white with electric mixer on medium-high speed until soft peaks form.
2. Slowly add icing sugar and beat well after each addition. Once all the icing sugar has been added, continue beating at a high speed until firm peaks form. Beat in vanilla essence and food dye if desired.


Next up: father's day cake