Pages

Showing posts with label icing. Show all posts

Thursday, March 22, 2012

Caramel Brownie Cake

I had to stick with the basics to make this cake. A gas-fire oven, stove and bowls and spoons were all I had so combined a few recipes and altered them a touch. This ugly cake turned out to be very rich and decadent.

Brownie Cake
adapted from this Ounces and Grams recipe

Ingredients
1C unsalted butter (240g)
225g bittersweet chocolate
1.5C caster sugar (337.5g)
4 large eggs
1 tbsp vanilla extract
1.25C all-purpose flour (187.5g)
1/4 tsp salt


Method
1. Preheat oven to 177C. Prepare 2 cake pans (9-inch round) with baking paper.


2. Add butter and chocolate in a medium sized pot over a larger pot of simmering water to melt gently, stirring frequently.

3. Put the sugar in a large bowl and add the chocolate/butter mix. After the sugar is incorporated add the eggs one at a time.

4. Stir in the vanilla and salt and slowly add the flour until fully mixed.

5. Divide the batter between the 2 pans and bake each for about 50 minutes (in an old-fashioned fire oven - I'd probably check frequently from 30 minutes) or until a skewer inserted into the centre of the cake comes out clean.


Caramel ganache and icing
adapted from this Taste.com recipe

Ingredients
1/2 C heavy cream
3/4 C caster sugar
250g white chocolate
1/4 tsp water (it asked for lemon juice in the original recipe but I don't know how essential this ingredient is..) 

Method
1. Boil the cream and then set it aside (but keep it warm)

2. Combine the sugar and lemon/water in a large saucepan.

3. Whisking well, melt the sugar over medium-high heat. It will go from a clear liquid to light brown in colour (this should take 7-10 minutes).

4. Add 1/2 of the hot cream to the caramel. Stir to combine. The mixture may bubble and froth up. Then add the remaining cream and stir.

5. Let the mixture cool for 5 minutes then return to heat and whisk until smooth.

6. Grate or finely chop the chocolate (or use choc chips) and place in a large bowl. Pour the hot caramel over the chocolate. Don't stir it. Let it sit for 2-5 minutes THEN stir from the centre, in one direction until the chocolate has melted.

7. At this point I stopped following the recipe. I spread a nice thick layer of this on top of one of the cakes and then sandwiched the other cake on top.

8. With the remaining ganache, I sifted in about 2 C of icing sugar until it was a thicker, icing-like consistency. This icing was really quite stiff but oozy/gooey. It's best to not ice the sides too thickly as it is likely to sink down the sides before it has time to 'set' in the fridge.

9. Decorate with melted chocolate/chocolate shavings etc.

10. Refrigerate until firm then slice and serve!


Monday, February 13, 2012

Red Velvet cupcakes and balls and my keepcup

I should have tried another red velvet cupcake recipe but chickened out and just used Bakerella's again. Turned out nicely as expected - this made me enough cake for 40 balls, 10 mini cupcakes and 12 small-medium cupcakes. I used the same cream cheese recipe as below but added an extra 4-6 cups of icing sugar as I was wanting super firm icing for piping. I wanted to make icing roses but failed. I blame the icing for being too soft (I even had it in the fridge to firm up more) but it probably relates to lack of skill too - hah. Ended up piping most using a star tip. I'll try roses again next time I use buttercream frosting.

So cake balls/pops are pretty fun! There's a lot of room to be creative with these. I would have dipped them in coloured sprinkles after if I had some. Could put a nut or piece of chocolate in the centre of the cake. Could have another layer - I saw one recipe that coated it in a cheesecake mix and then crumbled biscuit THEN chocolate.


Red Velvet cake balls
Adapted from the Gonna Want Seconds recipe
Yields about 40 balls (tablespoon sized) 

Ingredients
1 red velvet cake (I used half of Bakerella's red velvet cake recipe)

225g cream cheese, softened (bring to room temperature or warm gently in microwave)
2 C icing sugar, sifted
115g butter, softened (bring to room temperature or warm gently in microwave)
1 tsp vanilla extract

375g white chocolate (I ran out so you might consider using more - next time I'd melt 500g)
1 tsp vegetable oil


Method
1. Crumble cooled cake into a large bowl (if the cake was overcooked on the outside at all don't include it in this - I did and regret it as you can detect a slight burnt flavour and crispy bits in the cake ball - not a disaster but not ideal).

2. Beat cream cheese and butter together in a separate bowl until pale and creamy - about 2 minutes on medium-high speed. Beat in vanilla extract. Add icing sugar in about 4 parts, beating after each addition.

3. Add icing mixture to the crumbled cake and beat together on a medium-high speed until fully blended (until you cannot see anymore white icing).

4. Roll tablespoons (or whatever amount you want) of this mixture into balls and place on a tray lined with baking paper. Insert a cake pop stick into balls at this point if you're making pops. Place these in the freezer until solid to touch - about 45 minutes.

5. Melt white chocolate with oil according to packet instructions (I popped it in the microwave for 1 minute at 50% power, stirred then another minute but checked and stirred at 20 second intervals until fully melted).

6. Dip cake balls into chocolate and lift out to allow the chocolate to drip from the ball until somewhat set. Place back on the lined baking tray. (I wasn't making pops so initially tried rolling them in the chocolate and taking them out with spoons - this proved to be quite difficult and messy so ended up using toothpicks to pull them out and removed the toothpicks once the chocolate set - it leaves a small hole (see pic) but could be covered with decorations or more melted chocolate later if desired). Place in refrigerator to set and chill completely. Suitable to freeze too.


I also made some mini cupcakes with a cheesecake filling earlier in the week. They turned out to be quite tasty. I used bakerella's red velvet recipe but just didn't add the red food dye.


Cheesecake filling
Adapted from Sugar Plum's recipe 
I made half of the original recipe which was more than enough to fill cupcakes made with 1/4 of bakerella's red velvet cake recipe.

Ingredients
112g cream cheese, softened
1/6 C caster sugar
1/2 a large egg (I lightly beat an egg and then separated it - using the other half for the cake)
1/4 tsp vanilla extract
1/2 C crushed digestive biscuits

Method
1. Beat cream cheese and sugar together on medium-high speed for 1-2 minutes until pale and creamy.

2. Beat in egg and vanilla until fully combined.

3. Stir in crushed digestive biscuits.

Assembly - fill cupcake case 1/4 of the way with cupcake batter. Sprinkle some mini choc chips (as I did) or nuts next if desired. Add a dollop of cheesecake filling. Sprinkle more choc chips if desired, then fill the rest of the case with cupcake batter. Bake in the oven as per the cupcake recipe. I frosted these with cream cheese icing dyed pink.

Oh and I finally bought a keepcup after a long period of procrastination. Got a medium size after spending a long time in the store playing around with different colour combinations. Love it :)


Monday, February 6, 2012

Sticky Date Pudding slice

Absolutely looooove sticky date pudding. Warmed with vanilla ice-cream = sososo delicious. This recipe is just excellent. Very moist. The icing is lovely. I cut em up and served some for guests at lunch and then put the rest in cupcake liners to take to work. Very addictive.
Sticky Date Pudding slice
Adapted from The English Kitchen recipe

Ingredients
Cakey part

250g ( 1 1/3 C) pitted dates, chopped roughly
1 tsp baking soda
215g unsalted butter, divided (a scant cup, 9/10 to be exact)
185g ( 1 1/2 C) self raising flour
1 tsp vanilla extract
1 tsp baking powder
3 large eggs
90 ml (1/3) cup milk, divided


Frosting:
2 tbsp soft light brown sugar, packed
90g (3/4 C) sifted icing sugar
90g (3/4 C) chopped toasted walnuts
(I omitted these but I'm sure it would be a lovely addition)

1. Preheat oven to 160C (fan-forced). Line a 9 inch square (mine was 7x11 inch) baking pan with baking paper. ( make sure it hangs well over two sides so that you can just lift the bars out to cut when finished)

2. Place the dates into a saucepan with 200 ml of water. Bring to the boil, and then reduce the heat and allow to simmer for about 10 minutes, gently. Make sure the water doesn't completely evaporate (I had to add about 50ml). Add the baking soda, and set aside to cool.

3. Place 185g of the butter (NOT ALL), the flour, vanilla, baking powder, eggs, and 75 ml (NOT ALL) of the milk into the bowl of a food processor and mix together in short bursts for 1 minute or so, until well blended. Add the dates and pulse again to blend. Do not overprocess.

4. Scrape the batter into the prepared pan and bake for about 20 minutes (mine took about 30 mins), or until a skewer inserted in the centre comes out clean. Set aside to cool.

5. To make the frosting combine the remaining butter, the brown sugar, and remaining milk into a small sauce pan. Heat gently to dissolve the sugar.

6. Add the icing sugar and mix together well. Spread over the cooled cake mixture and sprinkle with the toasted walnuts.

7. Cut into squares to serve. Store in an airtight container (I kept mine in the fridge).


Thursday, December 22, 2011

Double chocolate candycane cupcakes with peppermint patty surprises

Hello!!! I was so excited to make these cupcakes. I tried a new chocolate cupcake recipe - Martha's one-bowl choc cupcakes and added chocolate chips. OMG so rich and fudgy and amazing. This will be my go-to choc cupcake recipe (will try others but will use this when I can't risk failure!). Then finally used my Lorann peppermint oil that I bought ages ago. This stuff is strong!! Literally only need a few drops. Made some mint patties which was quite fun. The texture is almost grainy but I like it. Nice and minty. Didn't make enough chocolate to dip them in - started dipping and realised I would run out. Then tried painting the chocolate on with a pastry brush but that was a bit fiddly. Just ended up spreading it on with a knife. Then made some two toned peppermint buttercream :) Love the this icing effect. Will have to try three colours one day. These creations are gifts for my work friends :)

One-bowl double chocolate cupcakes
adapted from Whisk Kid's Double Chocolate cupcakes recipe which was adapted from Martha Stewart's recipe
I halved the recipe to make 9 cupcakes (although should make 12 according to original recipe - maybe my cupcakes are just massive as I used cardboard cases)

Ingredients
33 g unsweetened cocoa powder
3/4 C (94 g) plain flour
3/4 C (149 g) caster sugar
3/4 tsp baking soda
Just over 1/4 tsp baking powder
Just over 1/4 tsp salt
1 egg
88.5 ml/g warm water
88.5 ml buttermilk
1.5 Tbls safflower oil (I used canola)
1/2 tsp vanilla extract
1/3 C chocolate chips (I used mini semi-sweet)

Method
1. Preheat oven to 350F (175 C). Line a muffin tin with liners (or baking tray with cardboard liners) and set aside.

2. Sift together cocoa powder, flour, sugar, baking soda, baking powder, and salt into a large bowl. 
 
3. Add egg, warm water, buttermilk, oil, vanilla and chocolate chips and mix until smooth, about 3 minutes. Scrape down the sides and bottom of bowl to ensure batter is well mixed.

4. Divide batter evenly among muffin cups, filling each 2/3 full. Bake for about 20 minutes or until tops spring back when touched and a toothpick inserted into their centres comes out clean. Rotate pan once if needed. Transfer to a wire rack; let cool completely.


Candycane swirl buttercream icing
adapted from life tastes like food recipe which was adapted from My Baking Addiction
Makes enough to ice about 12 cupcakes (tall icing like mine - more could be iced if using less per cupcake, obviously)

Ingredients
113.5g unsalted butter, room temperature 
2 C (280g) confectioner’s/icing sugar 
1 tbsp milk (I used soy milk as it was all we had) 
1/4 tsp peppermint extract (or a tiny drop if using Lorann peppermint oil) 
Food coloring (optional)

Method
1.  In a large mixing bowl, beat butter on high-speed until light and fluffy.  About 4-5 minutes.


2.  Slowly add confectioner’s sugar in stages.  Scrape down the sides of the bowl.  Continue mixing until well combined.

3. Add milk in 1/2 tbsp increments.

3.  Add peppermint extract.  Beat well to combine, sample buttercream.  If you want more mint flavor, add the next 1/4 tsp/drop, continue until flavor has been met.

4. For swirl icing - scoop half of the icing into another bowl. Add colouring slowly, beating between additions until desired colour is achieved.

5. Place each colour icing in separate piping bags then place both into a single piping bag fitted with a tip. Ensure the tips of each icing bag are sitting within the tip.


Mint patties
adapted from Cookie Talk recipe which was adapted from What Megan's Making
Makes about 2 dozen small patties (I cut the original recipe to 1/3)


Ingredients
146g icing sugar, sifted
1/2 tbsp light corn syrup 
1/2 tbsp water, plus more for spritzing if needed 
1/2 tsp pure peppermint extract (couple of drops if using Lorann peppermint oil) 
1/3 tbsp shortening (I used unsalted butter), room temperature 
Icing sugar, for kneading and rolling (I just rolled it between sheets of baking paper so didn't need this) 
123g 70%-cacao bittersweet chocolate, coarsely chopped (I used milk chocolate chips) - I'd recommend using more if dipping rather than spreading, maybe 250g 
1 TB cocoa butter, plus more if needed (I used 1/3 tbsp unsalted butter plus a dash of canola oil to thin it out)


1. Mix together the sugar, corn syrup, water, peppermint extract, and shortening in a mixer (or hand mix with wooden spoon). It will take a while to come together and will still only be crumbly. If it is very dry where you are, spritz lightly with a little extra water (I added about 1/2 tbsp water). Once you start seeing large pieces come together, it is ready. You should be able to form a ball and hold its shape.

2. Move mixture to workspace and knead lightly until smooth. You may need to spritz lightly with water. Wrap in plastic and freeze for 15 minutes.

3. Roll dough until 1/8″ (or larger if you like thick patties). Dust with confectioners sugar as needed but try not to go overboard - it will make your dough dry (alternatively use baking paper). Return to freezer if dough becomes difficult to work with.

 4. Cut into circles. I used a shot glass. You can use whatever you have. Place patties on a sheet pan (non stick - I used one lined with baking paper. Re-roll scraps and cut again. Freeze patties for several hours or overnight.

5. When ready for dipping, prepare a double boiler by placing a heat proof bowl over a pan of simmering (not boiling!) water. Make sure the bowl does not touch the water!

6. Option 1 Melt chocolate and butter in double boiler until smooth. Remove from heat and mix in oil until desired consistency is achieved.
Option 2 Melt about 3/4ths of your chocolate over double boiler until smooth. Remove from heat and add remaining chocolate. Stir until smooth. Return to heat and add your cocoa butter. Add more if chocolate is too thick.
Turn heat off but keep chocolate over the water to keep warm.

7. Using a fork, dip the peppermint patty quickly into the chocolate, covering completely and then shaking excess off. Use a knife to scrape patty off of fork back onto the sheet pan. Repeat until all patties are complete OR alternatively just spread chocolate on top and sides using knife or pastry brush, let dry/set for about 15 minutes then flip and coat the bottom.


8. Leave at room temperature uncovered until completely set. Once set, you can cover them, but they may get spots so you are best just leaving at room temperature (I just chucked them in the fridge in an airtight container - I prefer them cold and I haven't noticed any spots yet).

Assembly of cupcakes!
1. Spread a little icing on top of cupcakes to glue on a peppermint patty.

2. Ice around and over the peppermint patty.

3. Stud icing with decorations! Eg choc chips, glitter, sprinkles, silver edible balls etc.

Next up - Christmas day desserts.

Thursday, December 15, 2011

Gingerbread love


Had a successful gingerbread house making date with my friend the other week. Lots of fun!!! Definitely had to make a day out of it... shop for ingredients, make dough, chill dough, lunch, purchase more ingredients, bake, assemble, decorate. Took us from midday till about 11pm! It was worth the effort as they both turned out fantastically.

We used the Gourmet Traveller mag recipe. Last year I think I used this 101 cookbooks recipe but was keen to try something new and less spicy for my family's sake (I love spicy!). This recipe made enough for two smallish houses (forgot the dimensions sorry) plus about 2 dozen small cut-out cookies.

Gingerbread
adapted from the Gourmet Traveller
 
700g (4 2/3 C) plain flour
190g light brown sugar
190g dark muscovado sugar (we used dark brown sugar)
1 tbsp baking powder
1 tbsp ground ginger
1 tsp ground cloves (we left this out)
220g cold butter, cubed
180g golden syrup
2 eggs

1. Process the flour, sugars, baking powder and spices in a food processor to combine well (we just sifted the flour and mixed everything by hand).

2. Add the butter and process to combine (we rubbed the butter in by hand). Add the golden syrup and eggs and process until mixture comes together (3-4 mins) (we mixed it with a wooden spoon).

3. Turn onto a work surface, knead until mixture comes together, divide dough into two discs and wrap each in plastic wrap. Refrigerate to rest for at least 1 hour.

4. Preheat the oven to 180 degrees Celsius.

5. Roll out gingerbread on a floured surface until 3mm thick. Using templates as guides (we drew them on baking paper and used a mini pizza roller cutter), cut out 2 roof pieces (10.5cm x 27cm recommended by gourmet traveller), 2 side walls (14x24cm) and 2 end walls (13cm wide, 14 cm high with 6cm-high pitch for the roof). Cut out a door, windows, gingerbread men/trees etc as desired.

6. Transfer pieces to trays lined with baking paper and bake in batches until darkened around the edges (8-10 minutes for smaller pieces and 10-12 mins for larger pieces). Cool for 5 mins then transfer to a wire rack.

NEXT prepare royal icing
4 eggwhites
880g pure icing sugar, sieved

1. Lightly whip eggwhites in a large bowl. Gradually add sugar and beat until mixture is smooth and holds a soft peak (ours was quite stiff but this was ideal as it was strong and set fast).

2. Dye icing as desired then spoon into piping bags.

NEXT putting it all together
1. Prepare a base for your house for transport. I just used an oven tray - upside down and covered in foil.

2. Pipe icing along the base and side section of each side of the house and start building! Use cans of food etc to stabilise pieces while they set. Be generous with the icing, especially on the inside of the house, for strength. Attaching the roof tends to be most tricky but we found that as our icing set so quickly we just had to hold it in place for a minute or two before it remained in place unsupported. Otherwise try to find a support of the right height to prop up the overhanging edge of the roof.


3. Decorate!!!!! Stick on lollies, chocolates etc and sift icing over the top for a snow-like effect. Icicles can be made by piping slowly and pulling downwards carefully, gradually squeezing less icing. This can take time to perfect.

4. Admire then eat/destroy :)


Our gingerbread village

I did end up making the 101 cookbooks recipe again this year - gave most to a friend as a gift. Excuse the terrible photo!

I also made some of 101 cookbooks' black sticky gingerbread but turned them into muffins. LOVE these! Moist, dense with a rich molasses flavour. I didn't add the fresh ginger root (and didn't add any extra ground ginger) as I didn't have any/was a bit scared - maybe next time (because there will be a next time). Kept them in the fridge and had them warmed up with my yoghurt and cereal in the morning. After a zap in the microwave the crust gets extra gooey and a soft of crispy/chewy/amazing texture. Ok enough raving.


Hope everyone is having a lovely festive season :)

Friday, October 28, 2011

Chocolate peanut butter cookie dough cupcakes with two-toned frosting and coconut truffles

Here are my recent bakes as promised! Both were made for fundraising bake sales.


Finally bought a cupcake carrier. It has two levels so technically can hold 24 but if the icing is much more than a cm or so high, the bottom layer doesn't fit. Perfect if you only have 12. The bottom level is actually a metal muffin tray - bonus!
 
These cupcakes took some time to make but were well worth it. Here are the super moist chocolate (vegan!) cupcakes.

The peanut butter cookie dough balls. I added a little water into the mix as I didn't want the balls to be too firm. (best bit - eating the cut out bits of cupcake with the leftover cookie dough... yummm)

The two-toned icing was super fun! I made the icing a little thick in the first batch so it didn't pipe very smoothly. Otherwise a very easy technique - just fill two piping bags and put them both in one bag fitted with a large tip.


They were based on Joy's recipe here. I will have to make these again with the marshmallow frosting.

My grandma's awesomely addictive coconut truffles (secret family recipe :P)

Random yum lunch - stuffed baked pumpkin (grits + broccoli + mushrooms + pumpkin + liquid smoke, worcestershire sauce, pepper).

Saturday, September 17, 2011

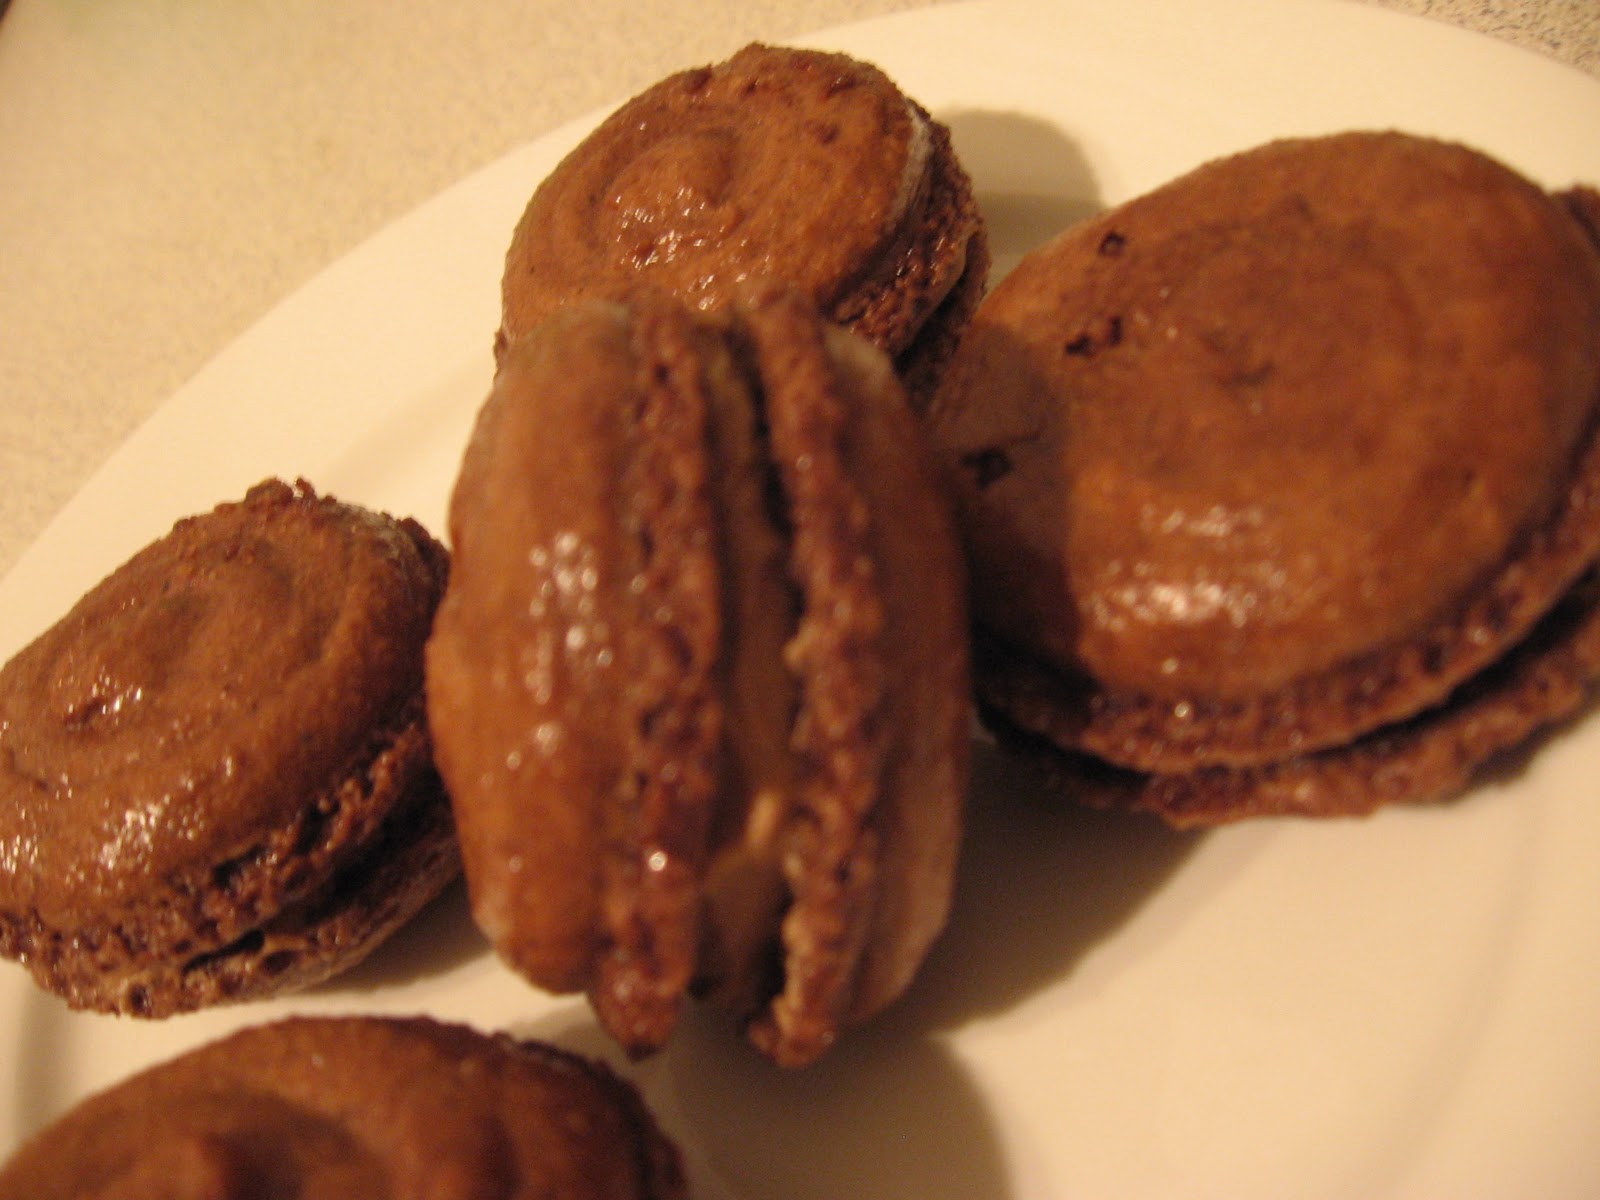
Peanut Butter macs and 'Cowboy' macs

Decided to try my luck using the dodgy college oven and make some macarons. Some of my first batch of shells failed (see below) but I eventually managed to figure out what needed to be done. They all turned out a bit too soft/underdone.


Salty peanut butter filling - just didn't have the vanilla unfortunately but was still YUM
Then I drizzled melted milk chocolate over the top. Next time I might consider putting a few choc chips in the filling for texture!


Cowboy macarons
For the filling I used this buttercream recipe as a base (minus the vanilla and milk) and added 1.5 TBSP Bailey's Irish Cream and 1 TBSP Butterscotch Schnapps. This was SO delicious.

Failed

Monday, January 3, 2011

Cinnamon scrolls

Been wanting to attempt baking with yeast for a while now and when I came across this recipe I knew it was time.

Cinnamon rolls from The Pioneer Woman - I quartered the recipe and got about 12 rolls


Ingredients
Bun
1C whole milk
1/4C vegetable oil
1/4C caster sugar
1/2 tbsp active dry yeast (3.5g/half a packet)
2C plain flour
1/4C plain flour
1/4 heaping tsp baking powder
1/4 scant tsp baking soda
1/4 tbsp salt

Filling
1/2C butter, melted
3/4C sugar
1/4C cinnamon (or more depending on preference)

Frosting
115g powdered sugar
1/3C milk
1/2 tsp vanilla essence
1 tbsp butter, melted

Method


1. Mix the milk, vegetable oil and sugar in a pan. Scald the mixture (heat until just before the boiling point - about 65C). Turn off heat and leave to cool 45 minutes to 1 hour.

2. When the mixture is lukewarm to warm, but NOT hot, sprinkle in the yeast. Let this sit for a minute.

3. Then add 2C of flour. Stir mixture together. Cover and let rise for at least an hour.

4. After rising for at least an hour, add 1/4C of flour, the baking powder, baking soda and salt. Stir mixture together. (At this point, you could cover the dough and put it in the fridge until you need it – overnight or even a day or two, if necessary. Just keep your eye on it and if it starts to overflow out of the pan, just punch it down).

5. When ready to prepare rolls: Sprinkle rolling surface generously with flour. Take the dough and form a rough rectangle. Then roll the dough thin, maintaining a general rectangular shape. Drizzle melted butter over the dough. Now sprinkle sugar over the butter followed by a generous sprinkling of cinnamon.

6. Now, starting at the opposite end, begin rolling the dough in a neat line toward you. Keep the roll relatively tight as you go. Next, pinch the seam of the roll to seal it.

7. Line and butter pans and preheat oven to 170C fan-forced.

8. Cut the rolls approximately ¾ to 1 inch thick and lay them in the pans.

9. Let the rolls rise for 20 to 30 minutes

10. Bake until light golden brown, about 15 to 18 minutes.

11. Meanwhile make the frosting: mix together all ingredients and stir well until smooth. I added a dash of maple syrup too. It should be thick but pourable. Taste and adjust as needed. Generously drizzle over the warm rolls.

Verdict
To my surprise the yeast was a success! My dough rose (although I'm not sure they rose much in the baking trays). These taste just beautiful. Divine fresh from the oven (or just heated up in the microwave). More cinnamon next time and I think I'll try the coffee maple frosting from the original recipe.

Next up: more yeast and polenta projects

Friday, December 10, 2010

Chocolate macarons

Attempt number 3! There are so many different recipes and techniques out there.. it's quite overwhelming. I'm sure all can work fine and it just depends on technique and practice. Practice is indeed something I need more of. Yesterday I used this recipe and they didn't develop nice feet, they spread out too much, appeared splotchy and were impossible to remove from the baking paper. I think they probably should have stayed in the oven a bit longer. In general though I think I go wrong in the egg white whipping stage. Or the folding in. Ok ok - the whole process!!

Today I used the first recipe I used to make macarons. They turned out much the same as the first time. Nice feet, nice texture, easy to lift from the baking paper BUT I think the mixture was much too thick. I don't know whether it's due to overwhipping the whites or due to the actual recipe asking for too high a ratio of dry components. I think I need to seek guidance from someone who has perfected the technique.


Ingredients

90 g egg whites (equal to whites of 3 large eggs), at room temperature
125 g ground almonds or almond flour
125 g icing sugar
25 g unsweetened cocoa powder (optional)
125 g caster sugar (superfine sugar) divided into two equal portions

Method  

1. Preheat oven to 140C fan-forced. Pulse the almond powder, icing sugar and cocoa powder in a food processor just until a fine powder is obtained. Then sift the mixture into a large bowl. (If using almond flour, you may simply sift the almond flour and icing sugar together).

2. Place the egg whites in a bowl and add half of the caster sugar. Begin beating the whites and sugar at low-medium speed. 

3. After 2 minutes, when the mixture starts to rise and holds its shape, increase the mixer speed.

4. Continue beating at medium speed until firm peaks are obtained. Add the rest of the caster sugar and beat until all the sugar is dissolved.

5. Transfer the beaten egg whites to a larger bowl (if necesssary) and add all of the almond powder mixture. Using a spatula, gently fold the mixture until the dry ingredients are completely incorporated, taking care not to overmix. The batter should be smooth and glossy and have a lava-like consistency. It should form a ribbon when dripped from the spatula.

6. Line two baking trays with parchment paper. Fill a large pastry bag half full with batter and, using a 2-cm (1/2 inch) tip, vertically pipe the mixture into small mounds about the size of walnuts. The batter should be fluid enough that the macarons slowly flatten themselves out (mine didn't). Tap the trays against a hard surface a couple of times to remove any air bubbles.

7. Allow to the macarons to sit for 20 to 30 minutes until a “skin” forms and they are no longer wet when lightly touched.

8. Bake for 12 to 14 minutes. Rotate tray halfway if necessary. Shells should be smooth and shiny, with the characteristic “foot” or ridge underneath. You can tell when they’re done by very lightly tapping the side with a knife or fork. The macaron top should not slide but remain firmly on its foot.

9. Remove macarons from the oven. Cool for a few moments and remove with a lifter. They should come off easily.


 Buttercream filling - I halved the recipe and this produced the perfect amount for my 12 macarons (24 shells)


Tuesday, November 9, 2010

Caramel mud cake


Still procrastinating instead of studying for all my exams.

Made a caramel mud cake for my dad's birthday today! Had a tin of caramel top n fill in the pantry too so used some of that in the icing to make it extra caramelly.

I haven't made this cake before so was a little apprehensive about putting so much effort into the icing without knowing whether the actual cake turned out any good or not!

Used the taste.com.au recipe for the cake and the icing is from Joy the Baker

Caramel Mud Cake

Ingredients
200g butter, cubed
200g white chocolate, chopped (I used Dream)
200g (1 cup, firmly packed) dark brown sugar (I just used ordinary brown)
180ml (3/4 cup) hot water
1 tbsp golden syrup (I added about 1/2 a tbsp extra)
2 tsp vanilla essence
150g (1 cup) plain flour
150g (1 cup) self-raising flour


Method
1. Preheat oven to 160°C (140C fan-forced).


2. Line a round 22cm (base measurement) cake pan with baking paper.


3. Place butter, chocolate, sugar, water, golden syrup and vanilla essence in a heavy-based saucepan. 


4. Stir over medium-low heat with a wooden spoon for 5 mins or until chocolate melts and mixture is smooth. 


5. Set aside for 20 mins to cool.


Took nearly exactly 5 mins to melt


6. Add eggs, 1 at a time, whisking/beating well after each addition. 


7. Sift combined flours over chocolate mixture and stir with a wooden spoon until well combined.


I was worried about the lumpiness but didn't want to overmix (don't know if that's an issue with mud cakes or not though)

8. Pour mixture into pan and bake in preheated oven for 50-60 mins (mine took 60) or until a skewer comes out almost clean. 


9. Stand cake for 20 mins before turning onto a wire rack to cool.


It sank in the middle - lucky the icing can cover it!


Caramel Icing 


Ingredients
85g butter, softened
1 cup icing sugar
1/2 teaspoon vanilla essence
1/4 cup caramel (TopNFill or dulce de leche made from condensed milk)


Method
1. Beat butter and sugar together with an electric mixer on low until creamy.


2. Add vanilla and beat it in.


3. Add caramel and beat in until smooth, still on a low speed.


Was thicker than I expected!


4. Frost cake once it has cooled and drizzle with extra caramel and melted chocolate. Top with crushed nuts or toasted coconut, as desired. Fun!


Verdict


Oh my! The best cake I've ever made I must say, both looks and taste wise. Really quite mud-like and dense especially in the centre and the icing is divine. Family raved. This cake will be gone in no time.


Haha at the icing in the centre. It really did sink o.O How could I prevent that and make sure it cooks more evenly? Lower oven temp?


Next - post exam celebratory bake-up!